Key Takeaways & Protocol Essentials
- Direct forward flashes bounce light straight back into the sensor, washing out faint water stains and micro-fissures in finish coatings.
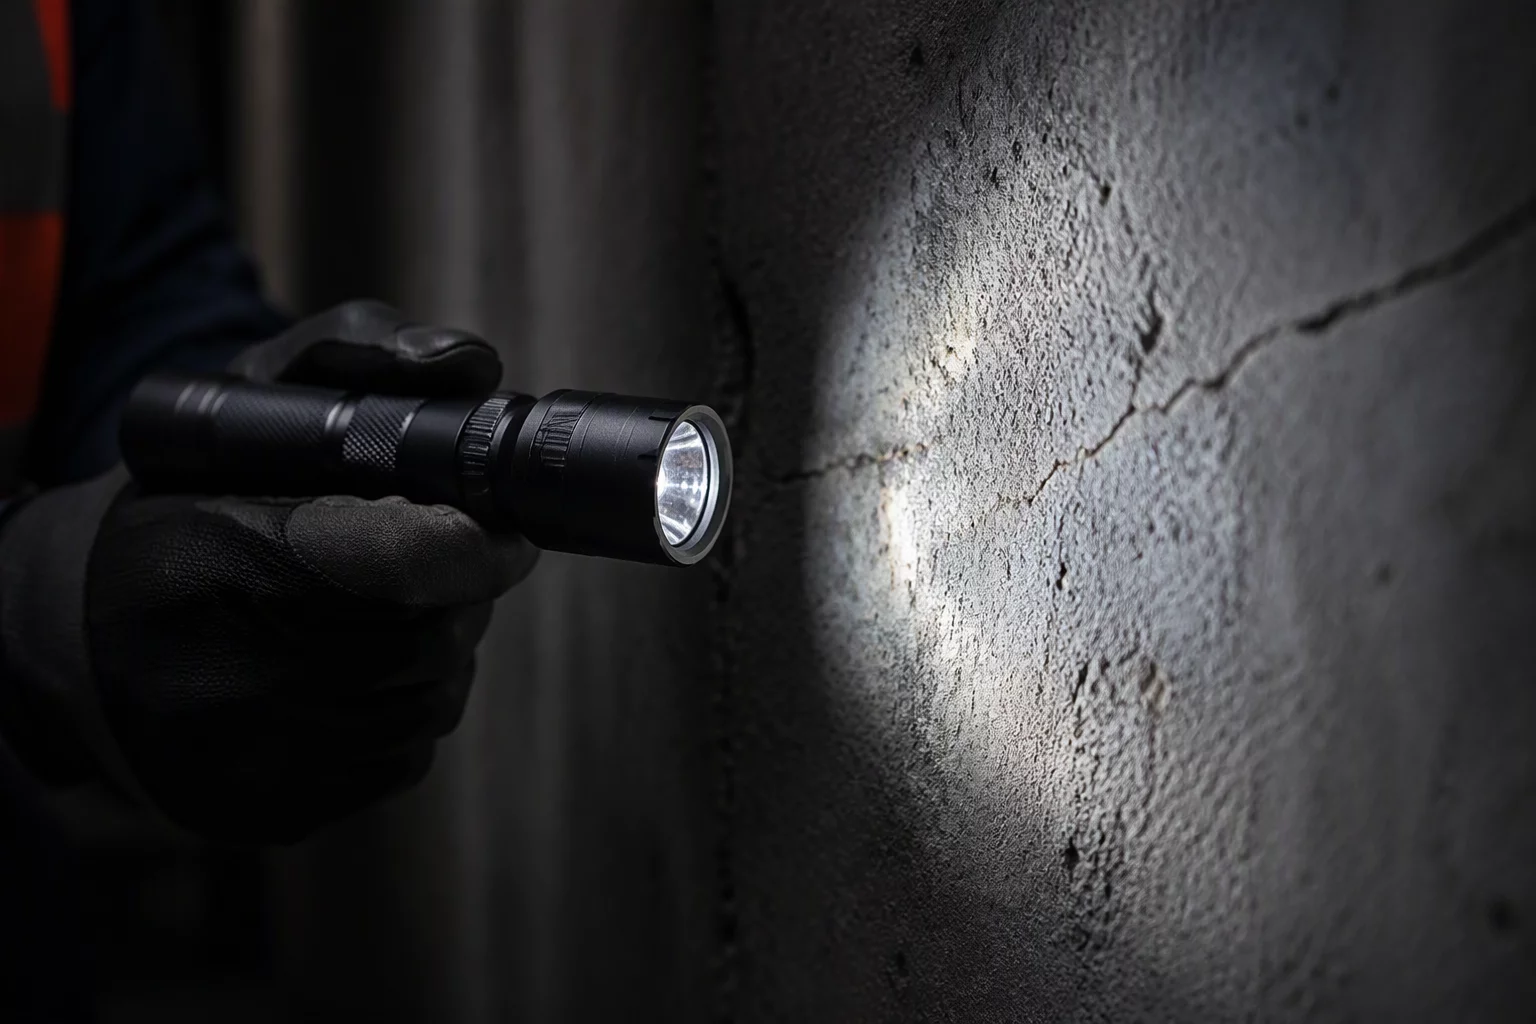
- Oblique illumination cast between 10 and 25 degrees creates decisive micro-shadows that prove material deformation to remote auditors.
- High color rendering index (CRI 95+) torches prevent color distortion on smoke residue, mold spotting, and oxidized metal substrates.
The Physics of Surface Relief and Glare Suppression
Proper lighting for damage photos dictates whether an audit reviewer sees genuine physical distortion or dismisses a claim file for lack of evidence. Flat head-on smartphone flashes create specular highlights on glossy latex paint, semi-gloss trim, and damp subfloors. The resulting hotspot blinds the camera sensor while throwing surrounding material into murky darkness.
Field professionals decouple the primary light source from the lens optical axis. Introducing controlled side lighting transforms subtle indentations, cupped hardwood edges, and blistered roof membranes into high-contrast topographic evidence. Light grazing across a planar substrate creates cast shadows that instantly communicate the exact depth and extent of structural distress.
Core Lighting Rules for Site Inspections
Position your secondary beam perpendicular to drywall settlement cracks or siding buckles to maximize shadow length along the breach line.
Soft translucent diffusers scatter light evenly within dark crawlspaces, wall cavities, and ceiling joist bays, eliminating harsh falloff.
Disable auto-exposure metering when documenting dark soot stains or white ceiling tiles to prevent the camera from clipping critical highlights.
Raking Angles and Texture Revelation Mechanics
Oblique raking light involves holding a focused torch parallel to the target surface at an acute angle between 5 and 15 degrees. When examining hail spatter on cedar shakes, impact indentations on aluminum fascia, or floor tile delamination, this technique turns microscopically displaced material into sharp visual proof.
"Without grazing side illumination, a 2-millimeter drywall deflection or faint perimeter moisture ring remains completely invisible to third-party file reviewers examining screen previews."
Conversely, documenting wet surfaces demands cross-polarization or bounce techniques. Firing an off-camera strobe against an adjacent dry wall fills the scene with soft indirect ambient light. This removes blinding reflections from pooled water while preserving authentic color tone across stained trim and soaked underlayment.
Inspection Light Toolkits and Exposure Calibration
| Lighting Setup | Defect Category | Field Positioning & Parameters |
|---|---|---|
| Low-Angle Raking Beam | Drywall cracks, hail dents, floor cupping | Torch held 10-15° from surface plane, 24 inches back |
| Diffused Bounce Flash | Reflective tiles, wet cabinetry, standing water | Aim flash head 90° toward matte neutral wall or ceiling |
| High-CRI 95+ Inspection Bar | Soot tracking, mold spread, scorch boundaries | 5000K neutral daylight beam, flood setting, centered over zone |
Field Inquiries & Observations
Submit a Field Note or Feedback
Share your site observation insights or questions regarding this methodology.