Key Takeaways & Protocol Essentials
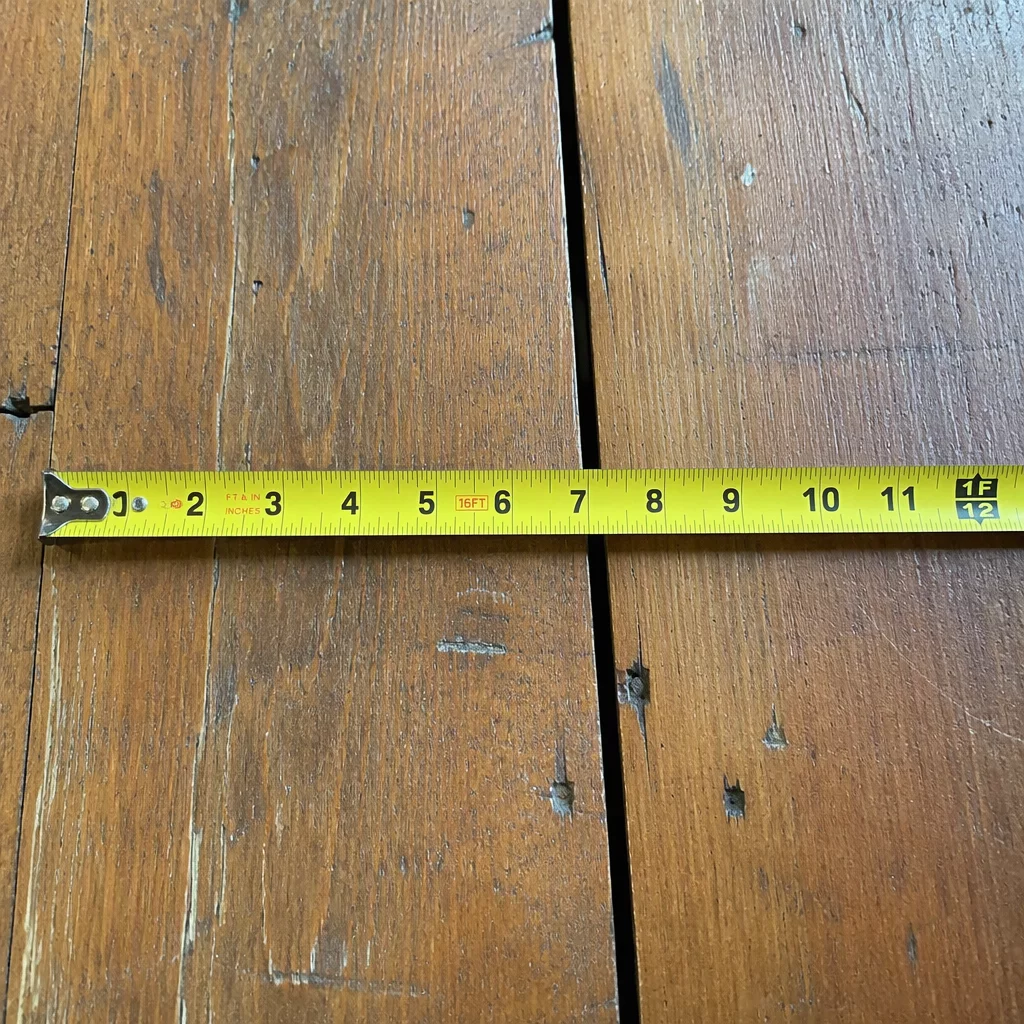
- Always introduce a certified physical reference scale along the primary damage plane to prevent optical foreshortening.
- Maintain perpendicular camera orientation (90 degrees to the target surface) to eliminate angular distortion in dimensional claims.
- Pair close-up gauge readings with wide-angle contextual perimeter shots showing total room or elevation boundaries.
Establishing Unambiguous Scale in Field Photography
Capturing dimensions in property assessment requires far more than placing a standard tape measure in front of damaged building assemblies. An uncalibrated angle or improper gauge placement can create deceptive perspective distortions, obscuring true linear quantities during subsequent scope reviews. Physical scale markers must sit directly flush against the substrate, aligned with the primary axis of displacement or surface degradation.
When documenting water intrusion marks on drywall or impact fissures across composite flooring, precise reference markers establish baseline boundaries. Reviewers and desk appraisers rely entirely on the photographic scale to verify square footage calculations and linear cut lines. Without clear dimensional anchors, estimating line items risk arbitrary adjustments or protracted validation disputes.
Three Non-Negotiable Field Measurement Rules
The measurement rule or calibrated scale rod must contact the damaged surface continuously. Floating a tape above an uneven floor or warped siding alters perceived length due to perspective convergence.
Position the camera sensor parallel to both the damaged substrate and the measurement indicator. Oblique angles compress visible intervals, corrupting precision reviews.
Always pair tight macro-focus shots of measurement increments with mid-range establishing photographs that capture room corners, window jambs, or architectural boundaries.
Optical Geometry, Parallax Error, and Elevation Planes
Optical parallax remains the leading cause of disputed dimension records during scope validation. When capturing vertical water lines along wall baseboards or ceiling joists, wide-angle lens distortion can curve rectilinear surfaces. Inspecting personnel must step back, use moderate focal lengths (35mm to 50mm equivalent), and center the focal point directly over the measurement index.
"A measurement in a photograph is only as credible as the visible relationship between the measuring tool and the structural boundary."
For complex dimensional transitions—such as stepping from continuous hardwood onto water-damaged subflooring—document both the horizontal footprint and vertical elevation shift. Documenting these dimensional steps with clear cross-sectional reference scales ensures subsequent repair scope items reflect actual material thicknesses and transition threshold requirements.
Dimensional Specification & Method Matrix
| Damage Type | Scale Tool Protocol | Verification Objective |
|---|---|---|
| Continuous Floor Water Damage | Rigid folding rule + chalk grid line | Establishes square footage boundary and transition break line |
| Drywall Moisture Swelling & Cut Lines | High-contrast magnetic ruler placed vertically | Proves exact height of the 2-foot or 4-foot flood cut line |
| Siding Profile / Shingle Exposure | Vernier caliper or graduated depth gauge | Confirms exact gauge, profile reveal, and thickness match |
Field Inquiries & Observations
No comments yet. Be the first to leave a comment.
Submit a Field Note or Feedback
Share your site observation insights or questions regarding this methodology.