Key Takeaways & Protocol Essentials
- Exterior water staining around fenestration headers often conceals continuous moisture travel along wall studs and sill plates.
- Repair scope documentation requires sequential photographs demonstrating head flashing absence, self-adhered membrane failure, and rotted rough framing.
- Scope alignment in Xactimate must isolate cladding detachment, flashing replacement, insulation extraction, and drywall rebuild into clear sub-trade assemblies.
Initial Perimeter Inspection & Leak Signatures
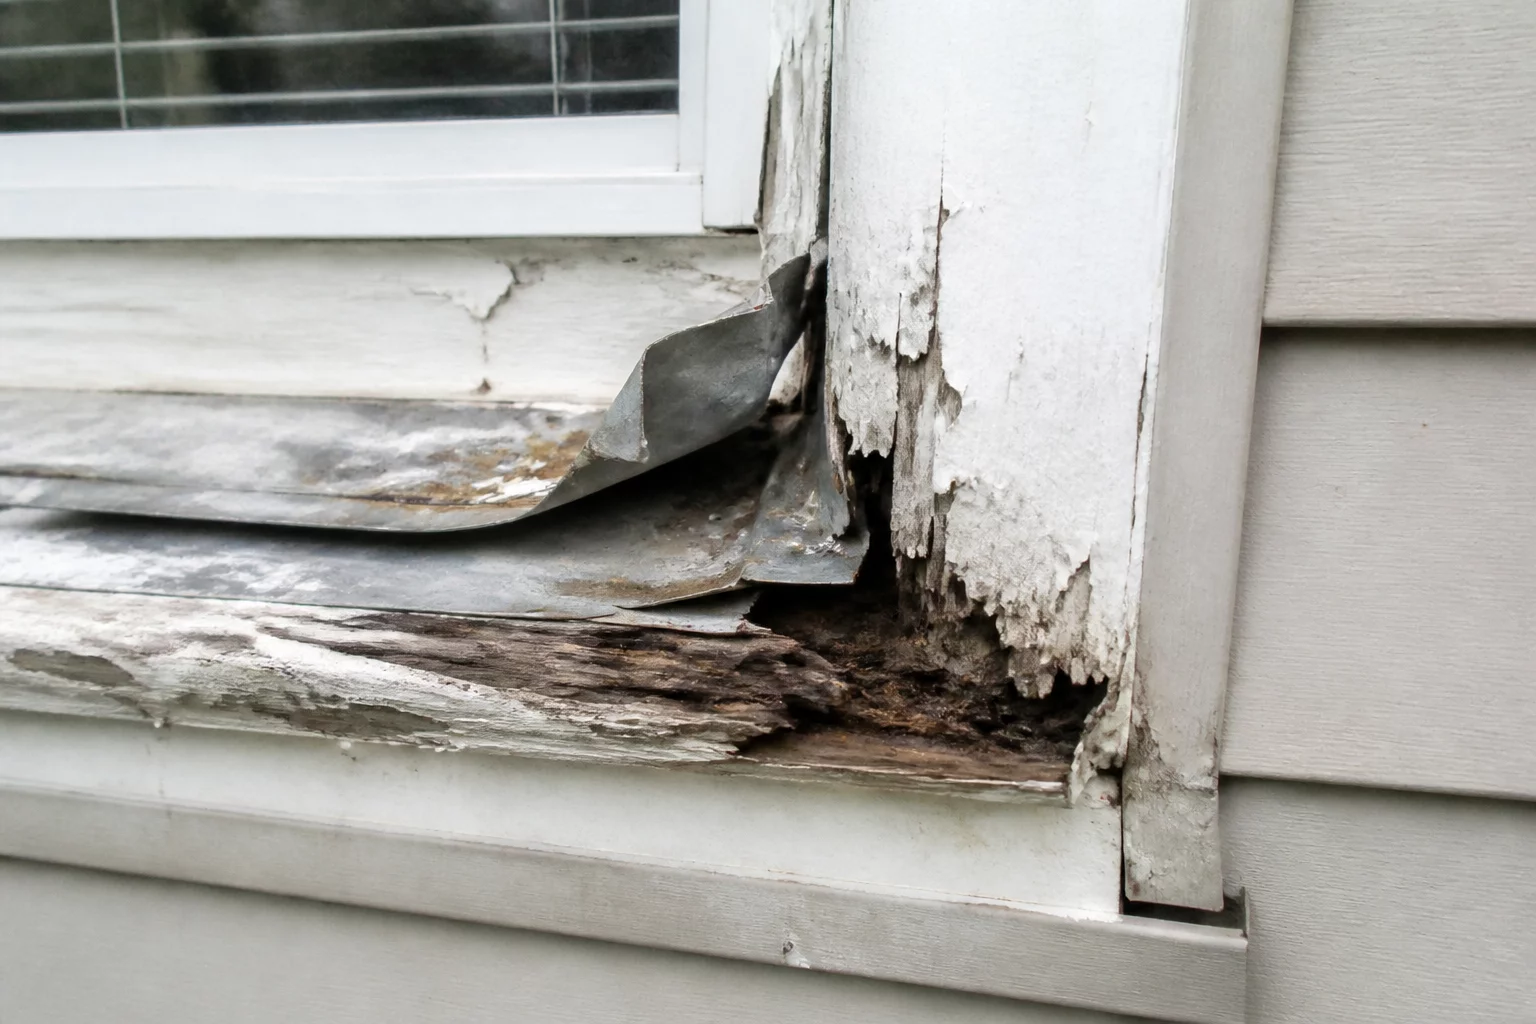
Exterior window head and sill flashing assemblies represent one of the most critical weather barrier transitions in residential construction. When head flashing is improperly lapped or omitted entirely, wind-driven precipitation infiltrates behind the weather-resistive barrier, running vertically down the framing cavity rather than draining outward. In this case study, interior drywall discoloration beneath a second-story casement window was initially assumed to be condensation damage. Closer field inspection revealed decayed framing members originating from the header flashing seam two feet above the window head.
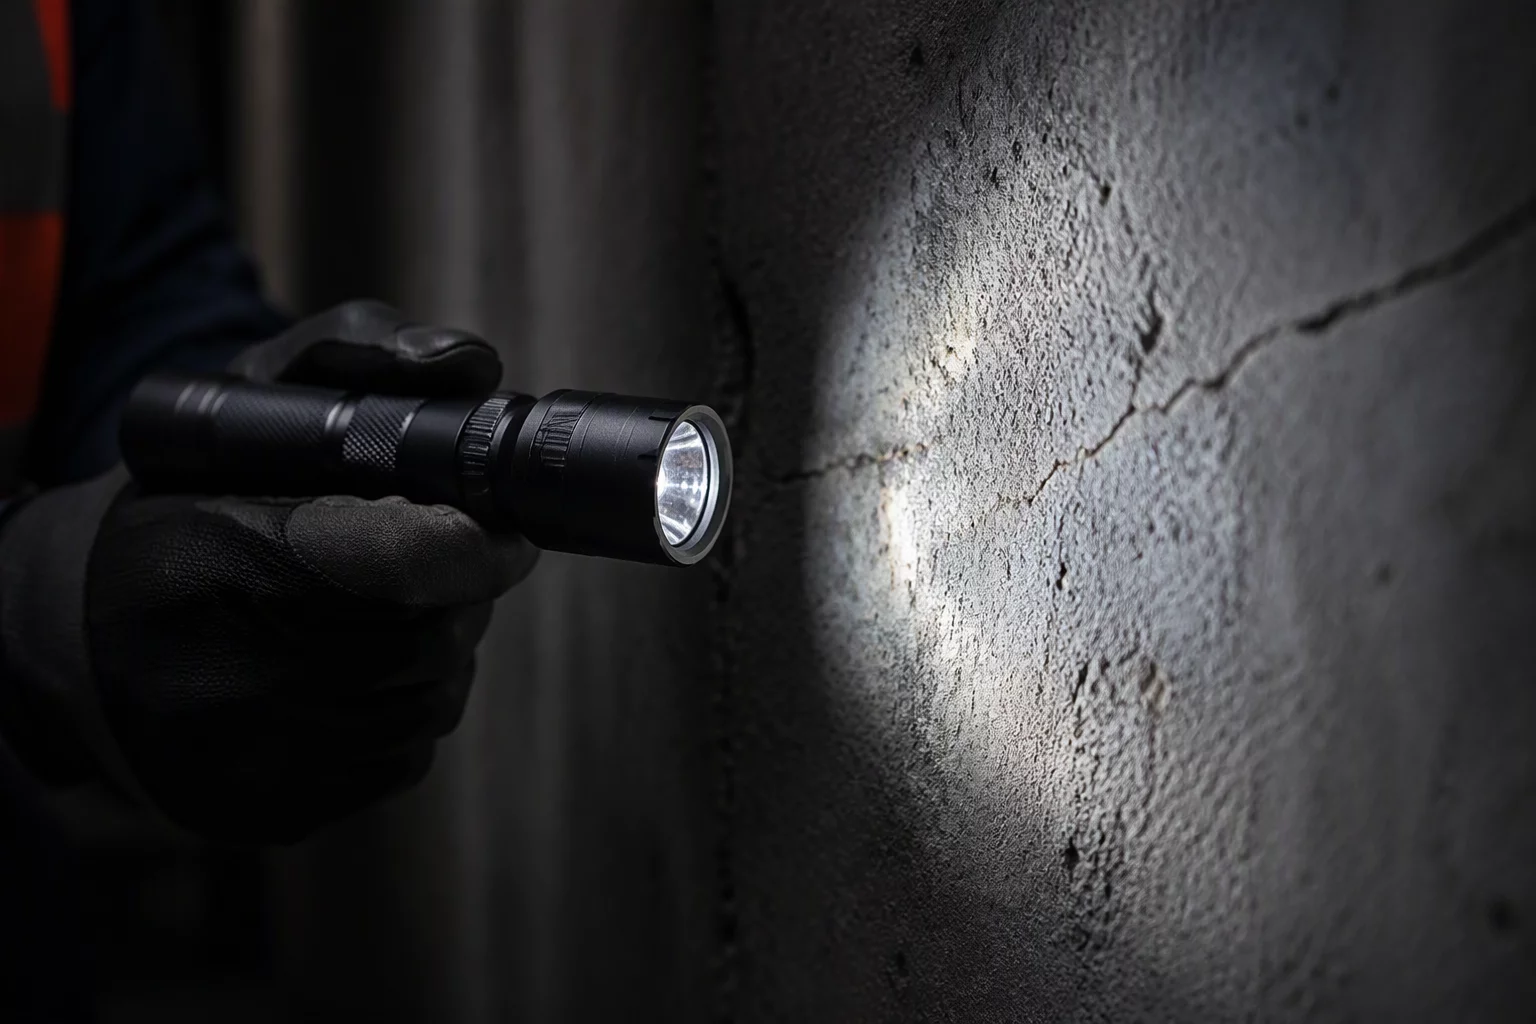
During our on-site investigation, non-invasive moisture meter scans across the surrounding drywall indicated moisture saturation levels exceeding 28% along the left king stud. Tracing the water path upward led directly to an unsealed exterior transition where the metal drip cap had been reversed and tucked behind the house wrap rather than shingled over it. This fundamental installation defect allowed ongoing moisture intrusion during heavy storm cycles, compromising both interior finishes and structural rough framing over multiple seasons.
Diagnostic Facts & Moisture Observations
Inspection verified the metal drip edge was installed underneath the building wrap, directing exterior water run-off directly into the top window rough opening.
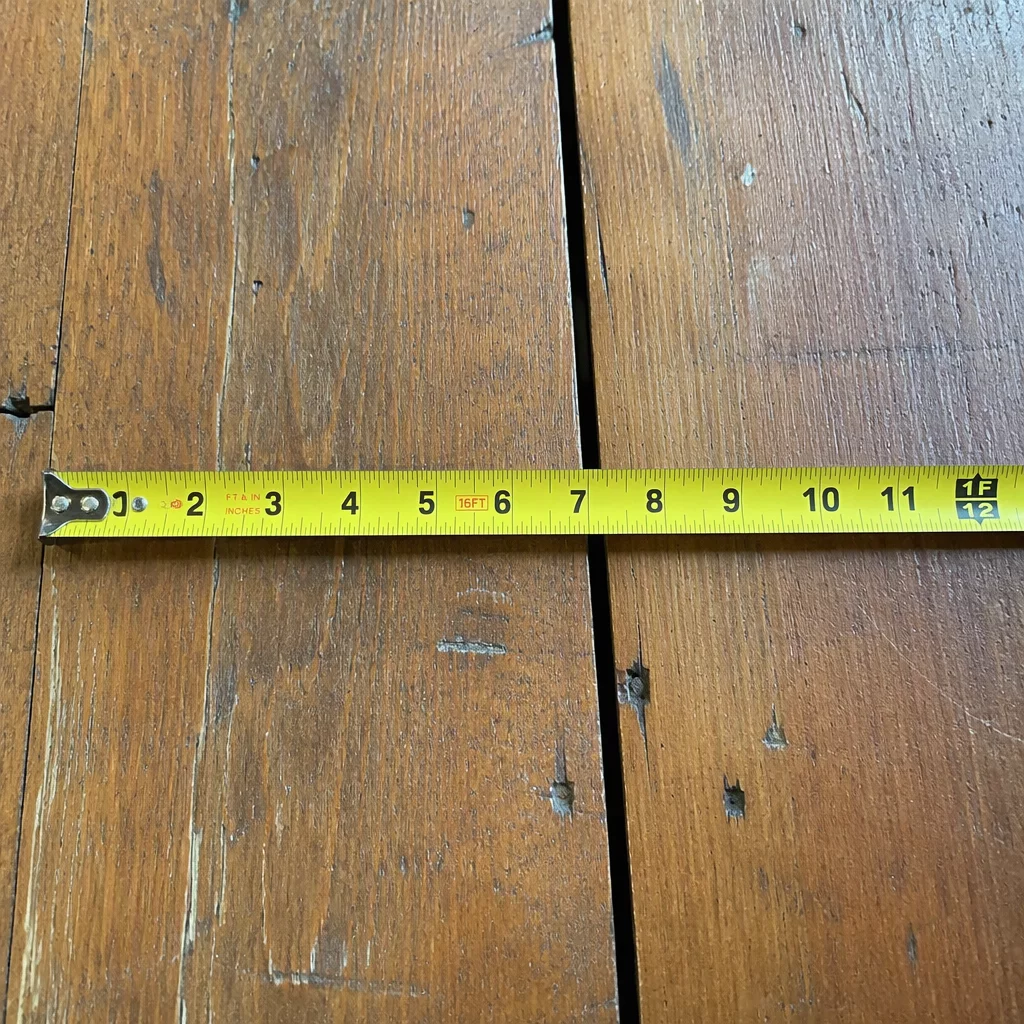
Destructive cavity access revealed black fungal growth and dimensional lumber rot spanning 36 inches across the sill plate and cripple studs.
Fiber cement siding panels adjacent to the window jambs exhibited moisture absorption, requiring localized removal to replace rotted OSB sheathing.
Cavity Tracing, Estimate Scope Review, and Documentation Alignment
Establishing an accurate scope context requires systematically proving why secondary assemblies must be dismantled. When compiling repair scope documentation for moisture-induced structural repairs, the inspector must present a direct chronological trail connecting the exterior entry defect to the interior finish remediation. Omitting exterior cladding detachment from the line items often leads to scope disputes during audit review, as desk reviewers cannot see behind intact exterior siding without progressive photographic proof.
"Physical moisture paths rarely stop at surface trim. Without photographic proof of cavity framing decay, fenestration estimates risk understating structural rough carpentry requirements."
In this case review, progressive photos captured each layer of deconstruction: siding panel removal, water-stained house wrap, delaminated oriented strand board (OSB), and deteriorated fiberglass batt insulation. Cross-referencing these physical artifacts against the Xactimate scope context allowed our field audit team to justify the inclusion of structural framing repairs, anti-microbial treatment, continuous vapor barrier re-installation, and window reset operations.
Fenestration Assembly Scope Specifications
| Assembly Component | Field Observation & Evidence | Scoping Justification & Line Item |
|---|---|---|
| Exterior Flashing & Barrier | Reverse lap at drip cap, degraded tape | Remove siding course, install self-adhered flashing membrane & Z-bar |
| Rough Framing & Substrate | Rotted OSB sheathing & wet king stud | Replace 1/2-inch OSB sheathing and 2x4 dimensional framing lumber |
| Cavity Insulation & Drywall | Wet batt insulation, mold on 5/8" drywall | Extract fiberglass batt insulation, drywall patch, tape, texture & paint |
Field Inquiries & Observations
Submit a Field Note or Feedback
Share your site observation insights or questions regarding this methodology.